Simple Methods to Safely Wipe, Reuse, or Destroy Old Storage Devices
I suspect this happens in every profession. Someone finds out what a person does for a living and immediately assigns them an indirectly related task. When someone works in Information Technology, the moment people hear “IT”, they assume that person knows everything about every electronic device, past and present. Can I figure it out? Maybe. Probably. But the second I say, “I don’t know”, I get hit with classics like, “Wait, didn’t you go to school for computer science?” or “Aren’t you in IT?” Yes, I do have Computer Science degrees. Yes, I work in IT. But that does not mean I automatically know why someone’s device is not working as expected.
Here is a typical scenario:
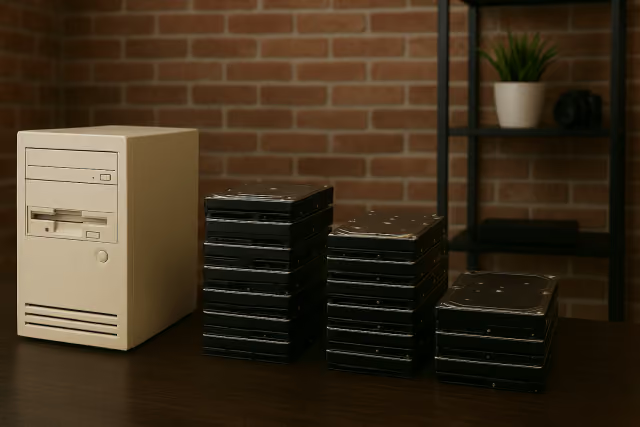
“Oh, you’re in IT? Perfect! Here’s a 20-year-old computer that’s been collecting dust.” And just like that, I am now the proud owner of a growing stack of hard drives because I cannot, in good conscience, recycle them without wiping them first. Why? I do not want to be the reason someone’s private data ends up for sale on the dark web.
Workflow
Consider Reusing First
Before wiping or destroying any old storage device, it is worth asking: Can it still be used for something? Many drives, especially those sitting in a drawer for years, might still work fine for basic tasks. They could be repurposed as external backups or for local media storage.
Testing a drive only takes a few minutes and can save a drive from being wiped or destroyed unnecessarily. If the drive still works and is not too old or slow, reusing it is often the most eco-friendly and budget-friendly option. For drives that are still usable, I simply format them and put them back into service. If the device is faulty, outdated, or no longer needed, that is when I move on to securely wiping or destroying it.
Accessing the Storage Device
When the original computer for an internal hard drive is no longer available, the drive’s data can still be accessed or wiped using a USB-to-SATA adapter, hard drive enclosure, or hard drive docking station. These tools connect the drive to another computer through a USB port to read its contents, format it, or securely erase the data. It is a quick way to repurpose or sanitize a drive without needing to reinstall it in a desktop or laptop.
A Note About Formatting
When formatting, it is important to know the difference between quick and full formats. A quick format removes the file system information but does not overwrite the existing data. A full (or long) format, depending on the operating system and formatting tool, may also overwrite the drive, but formatting should not be treated as a dedicated secure-erasure method.
Software-Based Wiping
Wiping or sanitizing a storage device means permanently deleting the data so it cannot be recovered. This should always be performed before selling, recycling, or throwing out an old device. It protects against data getting into the wrong hands.
Hard Disk Drives (HDDs)
For traditional hard disk drives, I use ShredOS to perform a DoD 3-pass wipe, also known as a DoD short wipe. Here is what it does:
- Pass 1: Overwrites all data with zeros.
- Pass 2: Overwrites everything with ones.
- Pass 3: Overwrites everything with random bits.
A 3-pass wipe makes data recovery extremely unlikely. While more passes can be configured, I use the 3-pass method for my HDDs.
Solid-State Drives (SSDs)
SSDs should be sanitized differently from traditional hard disk drives because flash storage uses techniques such as wear leveling and spare blocks that can prevent ordinary overwriting from reaching every location where data may have been stored.
Many SSDs support a manufacturer-specific or standards-based sanitize or secure-erase operation that is designed to address the storage device at a lower level.
If a manufacturer’s utility is not available, the computer’s BIOS may offer a built-in secure erase option. Most modern motherboards include this feature, but the name and steps to access it vary by brand.
NOTE: Some SSDs support cryptographic erase, which sanitizes the data by securely destroying the encryption keys needed to decrypt it. This is different from overwriting the storage cells and depends on how encryption is implemented by the device.
Physical Destruction
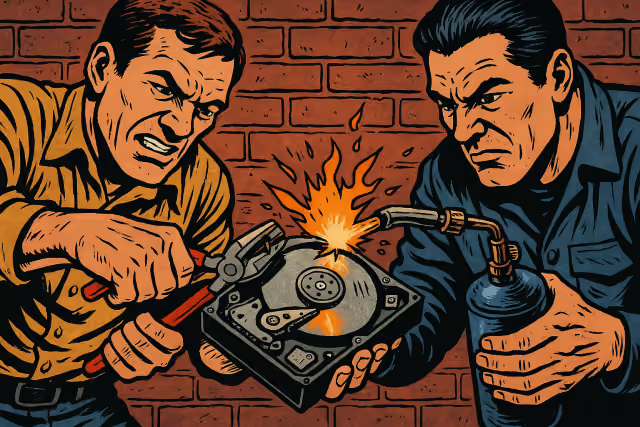
For extra peace of mind, I destroy the drive after wiping it. According to the National Institute of Standards and Technology (NIST SP 800-88 Rev. 2 Guidelines for Media Sanitization), destruction is one of the recognized sanitization methods, alongside clear and purge. Common destruction techniques include disintegrating, pulverizing, melting, or incinerating the device. These methods are not safe for DIY and usually require a professional.
Some people suggest smashing the drive with a hammer. I have tried that, but these drives are surprisingly tough. While it may dent the case, the internal platters often remain intact. Others recommend drilling holes through the drive. I have tried that as well, but my hand drill struggled. A drill press with clamps might work better. Another common method is using pliers to remove or damage the drive’s pins, making it unusable for most people.
The easiest method I have found is to open the hard drive, remove the platters, and cut them with scissors. No power tools, no flying debris. It is simple, effective for my purposes, and comes with the bonus of a few strong magnets.
For smaller storage devices like SD cards or USB drives, I usually format them and physically destroy them if they contained sensitive data.
NOTE: Always follow appropriate safety precautions and use common sense.
Summary
Working in IT often means inheriting old electronics nobody wants. Before recycling or discarding old drives, it is worth considering whether they can be reused first. Reusing them is better for the budget and the environment. If reuse is not an option, securely wiping the data is essential to protect personal information. When extra security is needed, simple physical destruction methods can provide peace of mind without much hassle.